

I saw this pinteresting and came across it on No Time For Flashcards . This is a great craft to do with kids because it’s really hard to mess up. Luckily, Darbysmart sent me some acrylic paints in the mail and I always have vinyl cut hearts on hand (I am a crafter-dork like that I guess, LOL).
I have been subscribing to DarbySmart (and also selling there as they also have a crafter marketplace). Last month’s box of DarbySmart was out of this world as we made wood-burned leather coasters. I gave them to my sister as a gift. This month’s box was less than exciting, a calendar made from strings and wooden tags?
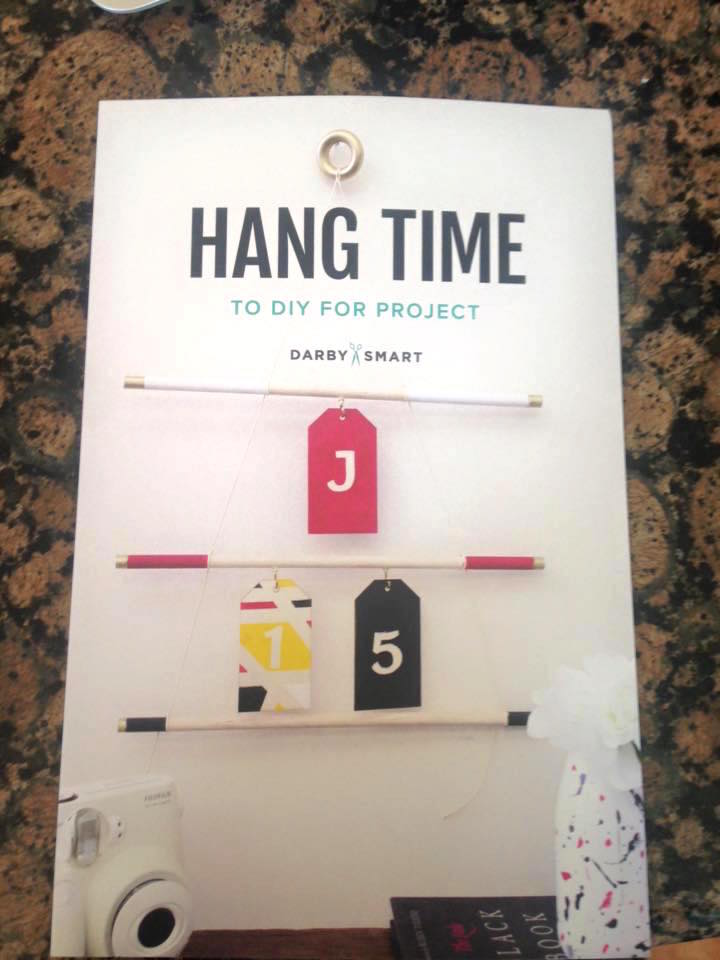
Hmmm….. I think I will pass but since I am a crafter/maker/artist extraordinaire, I was happy with some of the tools in the box, including the paints and brushes that made this project possible! I am trying to focus all of my blog posts around more diverse crafting projects, getting new materials every day makes me think outside the box. What’s great is that if you subscribe to Darbysmart, you can always come here to see alternative ways you can use the materials they sent you.
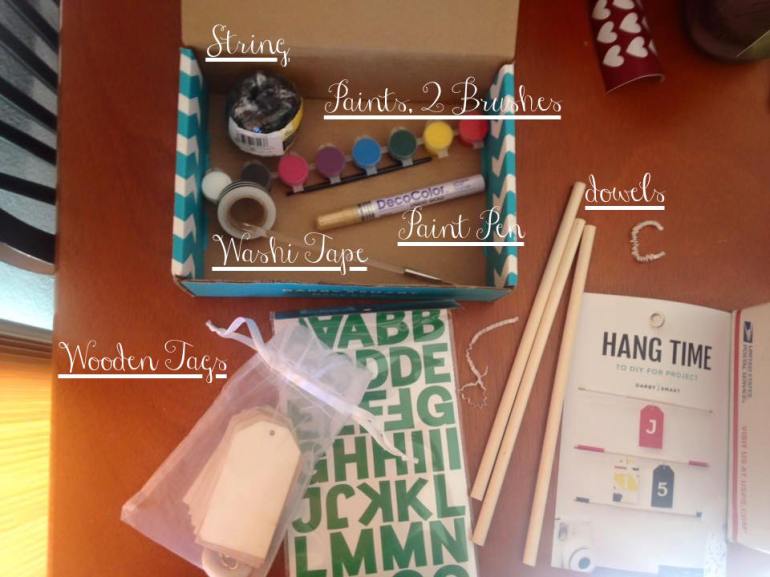
I like the acrylic paints! And two paint brushes is awesome. A person could probably paint a whole picture with the paints they sent (get a canvas, some wine, wine and paint in your home ❤ ❤ ) Washi tape: let’s be honest, who doesn’t love washi tape. A GOLD paint pen, I frikkin LOVE paint pens, so this made the whole thing worth it. I used a white paint pen in my previous blog about how to make your own handpainted wedding signs. So that made me do a cartwheel and was totally worth it. As you can see they have other materials, wooden tags. Since I don’t want to do this months darbysmart project I am going to keep the wooden tags for gift tags in the future (maybe personalize them with my Cricut??)
Anyway, so if you don’t want to do this month’s project with DarbySmart, no problem! I am going to try and think of some super fun crafting projects to do around this, including this cute tutorial on how to make your own “Valentine Stones”.
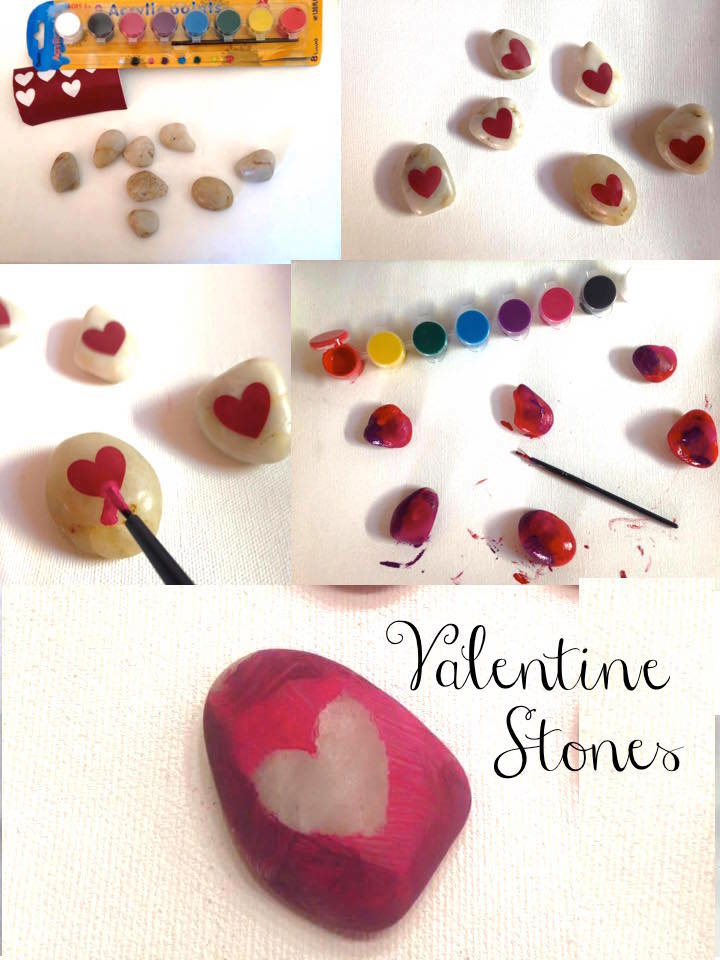
Valentine Stones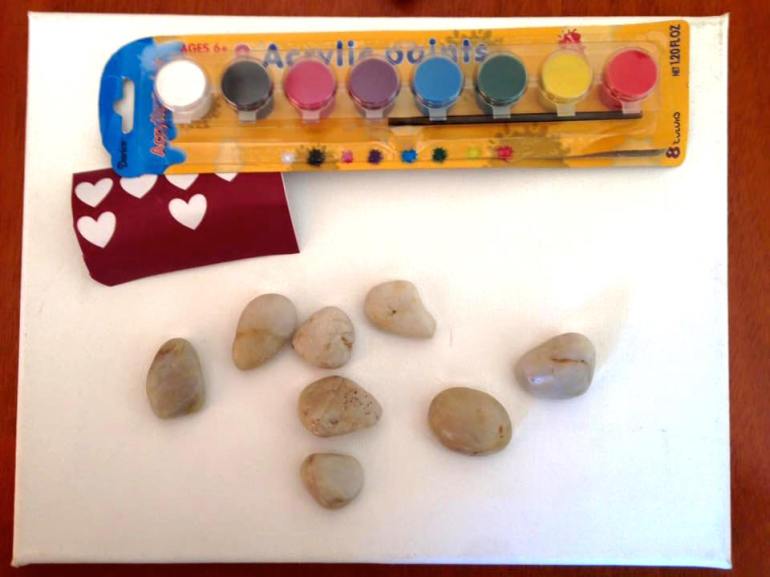
Materials needed:
Acrylic Paints and Brush
Heart Stickers
(I printed mine out on the Cricut Explore)
River Stones
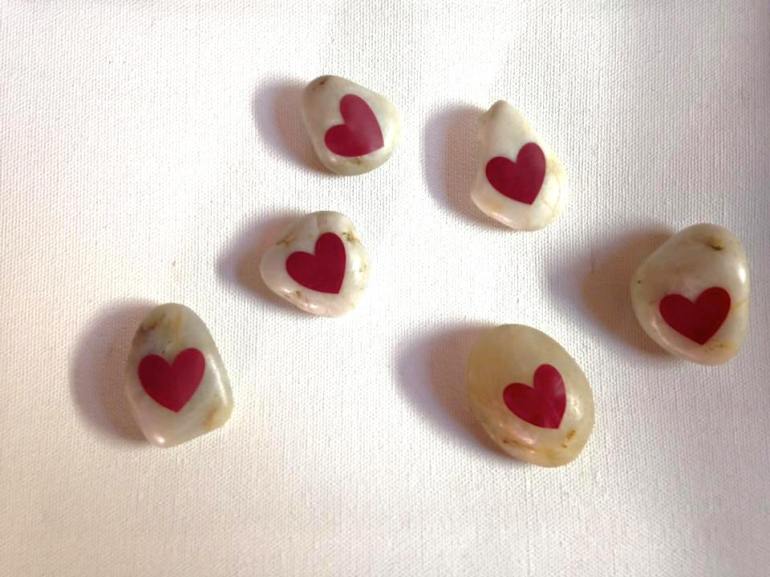
Put the stickers on the stones. So easy!
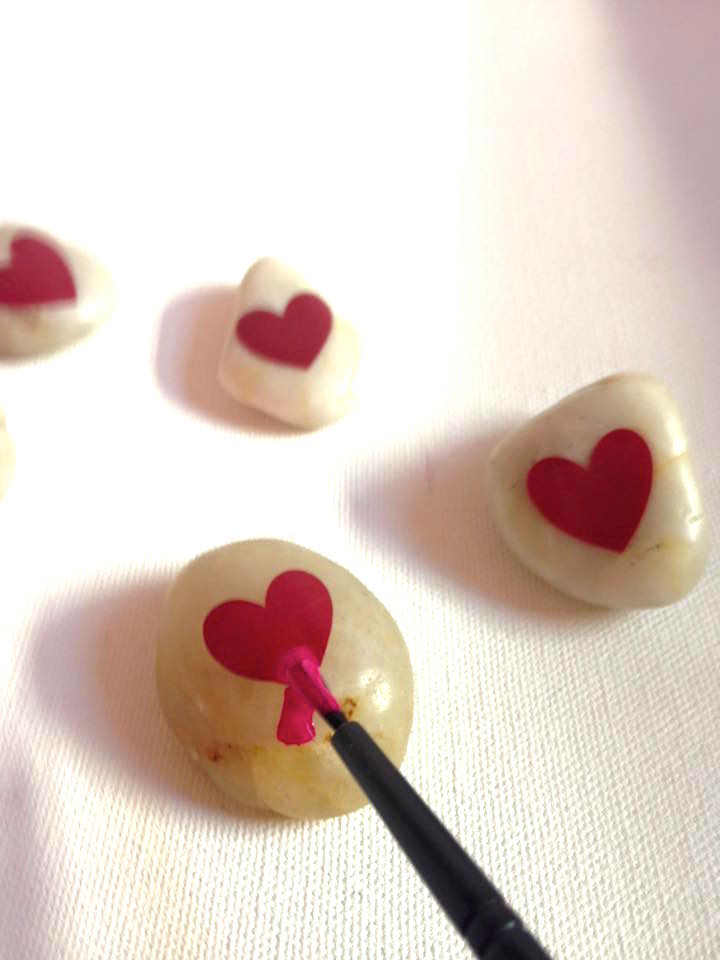
Paint away! I like funky colors, so I thought I’d do a pink/red/purple mix. ❤
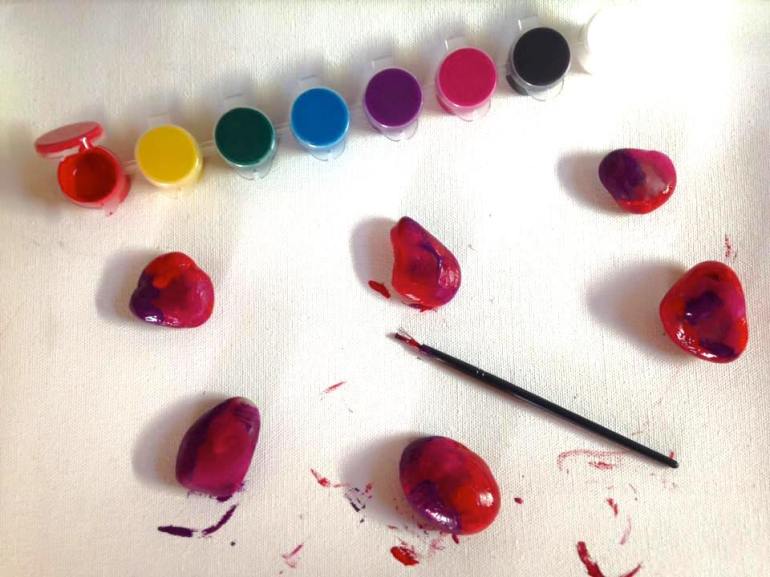
Cover them in paint! Yay! Like I said, so easy.
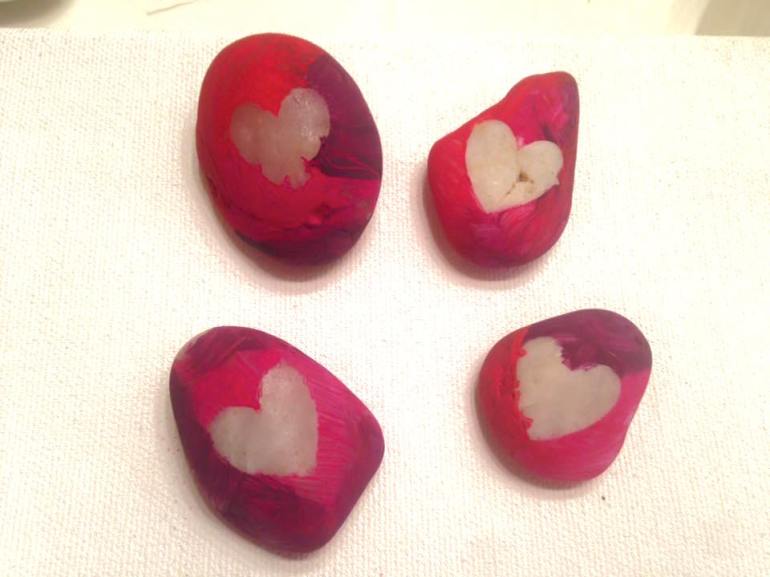
Happy little Valentine Stones! I am going to put these in some organza bags and give as gifts. I love stones in general, such an earthy feeling and a simple, solid valentine! it’s one of those things your friends will keep around, or find years from now when they are cleaning out their closet. Something that can make them smile even years from now. 🙂
Thanks for checking out my craft project! For those who have already signed up for the newsletter, I will be trying to send out the first one at the beginning of February featuring a whole bunch of fun valentine day projects! If you haven’t signed up yet, you should! I will only be sending out one email a month, so your box won’t be clogged with a bunch a stuff, just a once a month mailer filled with fun DIY projects and crafts.
How is everyone else preparing for Valentine’s Day?
