


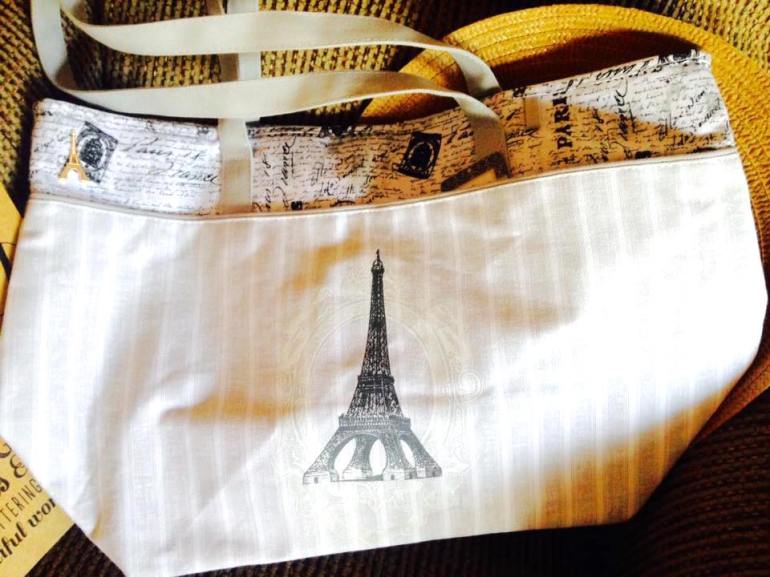
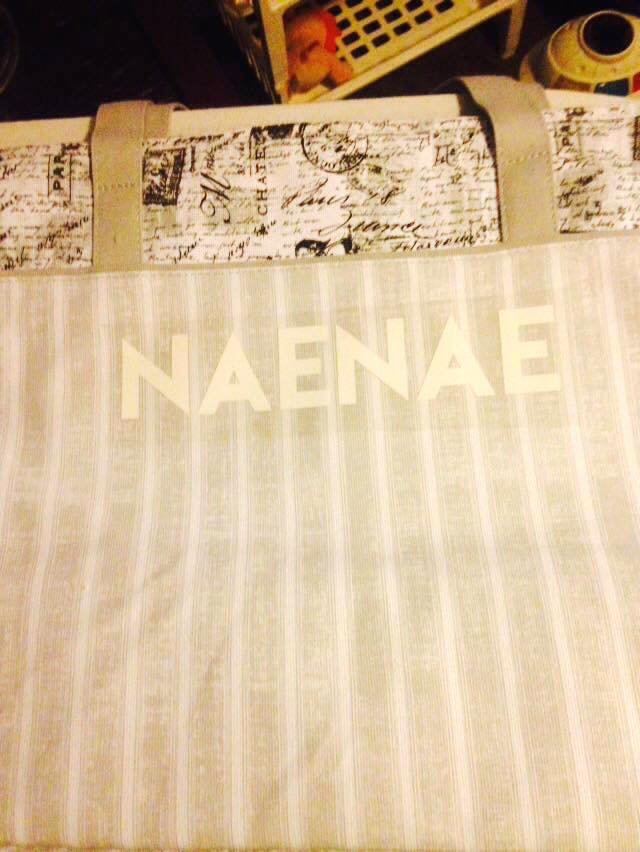
I am always trying to think of fun ways to celebrate big events like Mother’s Day. Who better to spend all your crafting efforts for than someone who deserves it – – – MOM! I put this cute little Paris-themed tote together for my mom. (Tote was only $10 on sale today at Joanne’s Crafts & Fabrics!)
I love personalizing everything with my die cut machine. I’m always surprised how much friends and family treasure the custom, personalized gifts I make them (coffee cups, totes). It’s hard not to like something with your name on it!
Surprisingly, with all the things I have been able to learn how to do, I had yet to venture into iron-ons. I wanted to personalize the saying “NAENAE” (the name my daughter calls my mum 🙂 ). I even still had the iron ons from the Cricut Explore original material sample pack.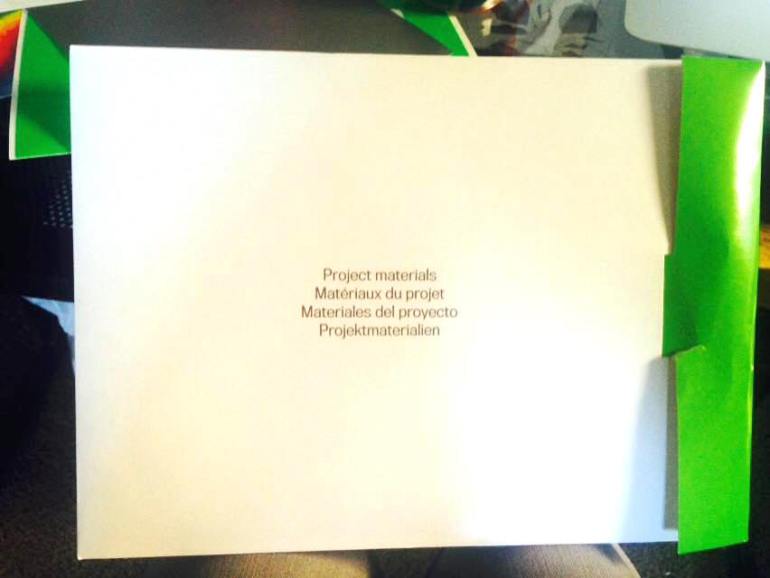
Place the iron on material shiny side down.
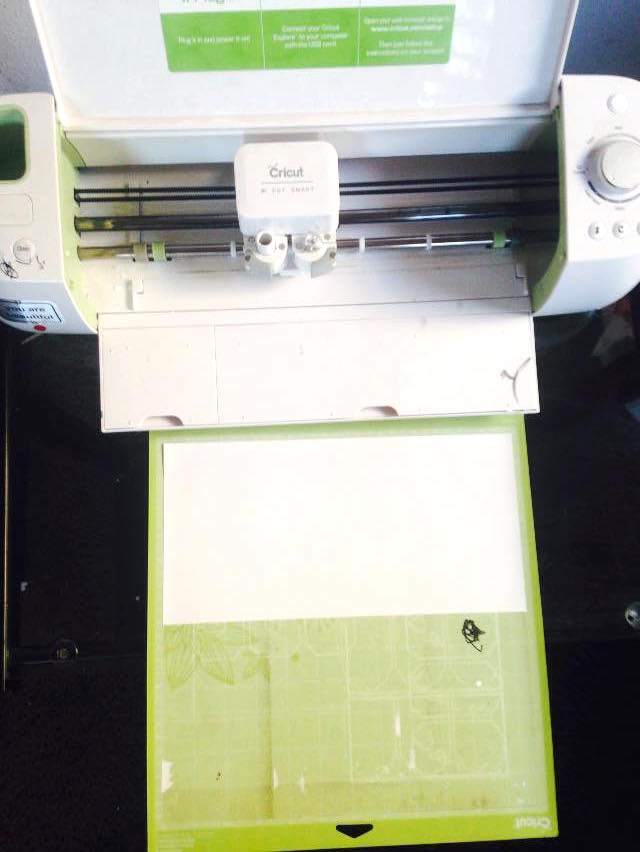
So I typed it up in a nice, sturdy font and printed it out with the “iron-on” dial. Be sure to check the unchecked box “mirror for iron-ons” in the design program too, I hadn’t checked that box. (Ever wonder what that check box was for? this! lol) So, check that box. lol. Or else it will be printed in the incorrect way and come out reverse on your work (like my first one did….sigh)!
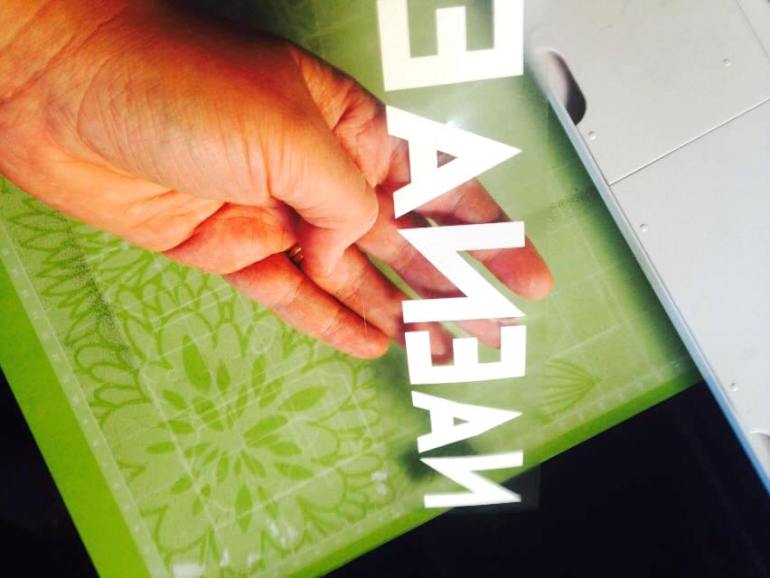
After I printed in a mirrored image, I had to remove the liner. It took me a few minutes to figure it out (like I said, I’ve never done this) but I did eventually find where it peeled open, and then it pulled off smooth into an amazing decal!

Place the decal over where you want it to go.
The directions said to place a nice dishcloth above it to avoid damaging the decal…


The letters didn’t exactly stick on when I tried this method, I started to worry that this whole mother’s day gift may botch, but I tried to keep it together….
So I just went all in and placed the whole iron over the decal. I just wanted to see if it was even sticking….
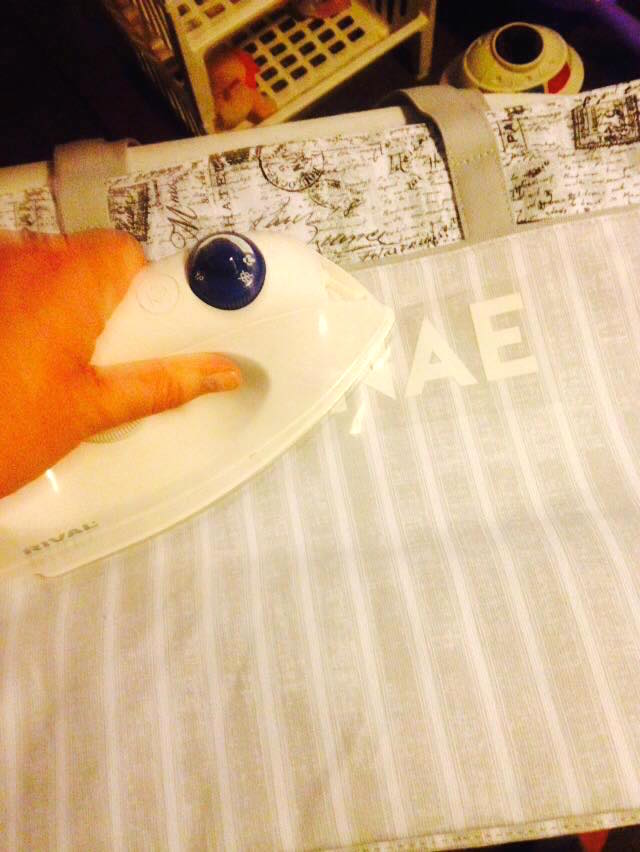
and it worked!

Stuck on there good!
Perfect Mother’s Day Gift!
I also included a sun hat made from Iman’s Global Chic line, a ladybug shaped bubble bath bar from LUSH (buy handmade!), and this amazing book “Creative Lettering and Beyond”. I was telling my mom how she should get into calligraphy, she has such beautiful cursive handwriting already, she could probably start an etsy shop on her handwriting alone!
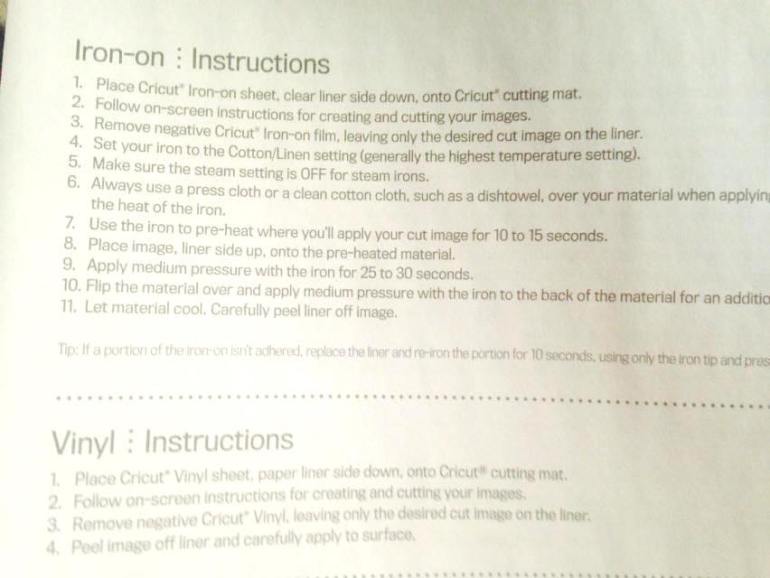
Here are the actual, specific directions created by Cricut:
Happy Crafting!
Thanks to all the customers
who posted their projects on social media this month!

Share your photos with PCW products (instagram, etsy, facebook)
and get $5 off your next order! I’ll send you a coupon code and
post the picture on the next blog!
