
Color Pour brand is AWESOME! My obsessions usually come in waves. Once I like to make something, I just want to make even more of it. And more of it. And. More. Of. It.
When I first discovered American Craft’s Paint Pour brand, I immediately wanted to make something swirly, twirly, cosmic, galactic and sparkley. Glittery. If you know and follow me, you also probably know I have a brain that stops when I see sparkly objects. (I apologize to every teacher who has ever taught me.)
Similar to Chalk Couture, the color pour brand is a full on collection of tools, materials, and surfaces to create paint pour art. I love brands that include a whole arsenal, tutorial, and confidence for customers to try crafts I would not have usually tried.
Before I get to the instructions about how to make your own paint pour project, I wanted to show you a couple other American Craft Color Pour projects I’ve worked with.
Once I started doing color pour, I decided I wanted to make the largest one I could. Once I decided to again make my own giant paint pour, I will be sure to use two whole kits of color pour. I only used one with this, but see now it was probably best if I purchased two.
The painting is still ahhhh-mazing! Plus, Lela threw a bunch of gold glitter on it and Grandpa was happy! Every gift is a success when you recruit a cute crafting sidekick.
I was surprised when I saw Color Pour release a new line: resin pour. This new line they incorporated into their paint pour system confused me. However, recently, I saw this kit while pursuing the internet, only to learn they are slowly breaking into resin painting! How cool is that! The resin paintings look even better than paint pour, just covered with a shiny finish. And we all know what happens when I look at shiny things. Shiny. Things. I will be making one soon. Stay tuned. Like. Subscribe. Hit that notification bell.
That being said, resin is something that I want to get better at. I still have so many things to learn about resin. I just made this paperweight with the color pour brand products, and I look forward to making more resin projects, and eventually, a resin painting!
What you will need to make your own Paint Pour Art:
A paint pour kit (I like Color Pour)
Plastic Drip Drop Mat (something to go below)
Thumbtacks (to prop up canvas while pouring)
Color Pour Cell Magic Cell Activator
Directions:
1. Distribute the different shades of colors into different cups.
2. Add some cell magic and mix with popsicle sticks.
3. Brush a small layer of light shade paint and create a primer level to give more slip to help the paint glide when pouring.
4. When pouring into a bigger container, start with the lightest colors, and slowly add in the darker colors by shade.
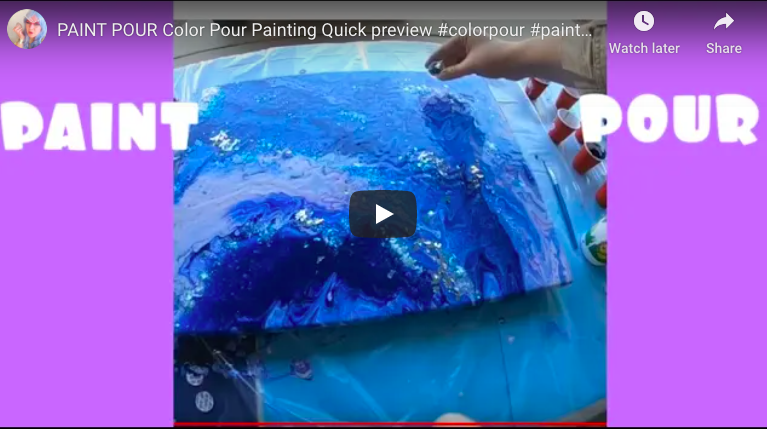
5. Add the paint to the canvas, top of the cup up, and flip (see video for detail). Slowly move the paint back and forth on the canvas until you get the desired look you want.
6. Add glitters as desired.
7. Let the painting dry for 24 hours. Add talc powder and then slowly take a very damp cloth to dust and gently dust off excess talc powder.
8. Let dry a bit more. Add glossy varnish to add final elements.
Thanks for stopping by!
Paper Crane Wishes is a participant in the Amazon Services LLC Associates Program, an affiliate advertising program designed to provide a means for sites to earn advertising fees by advertising and linking to Amazon.com.
